Freelancer invoicing guide 2026
How to Invoice a Client as a Freelancer: Steps, Example & Email Template
A practical freelance invoicing workflow, from agreeing on the scope to sending the invoice, tracking payment, and following up without making the conversation awkward.
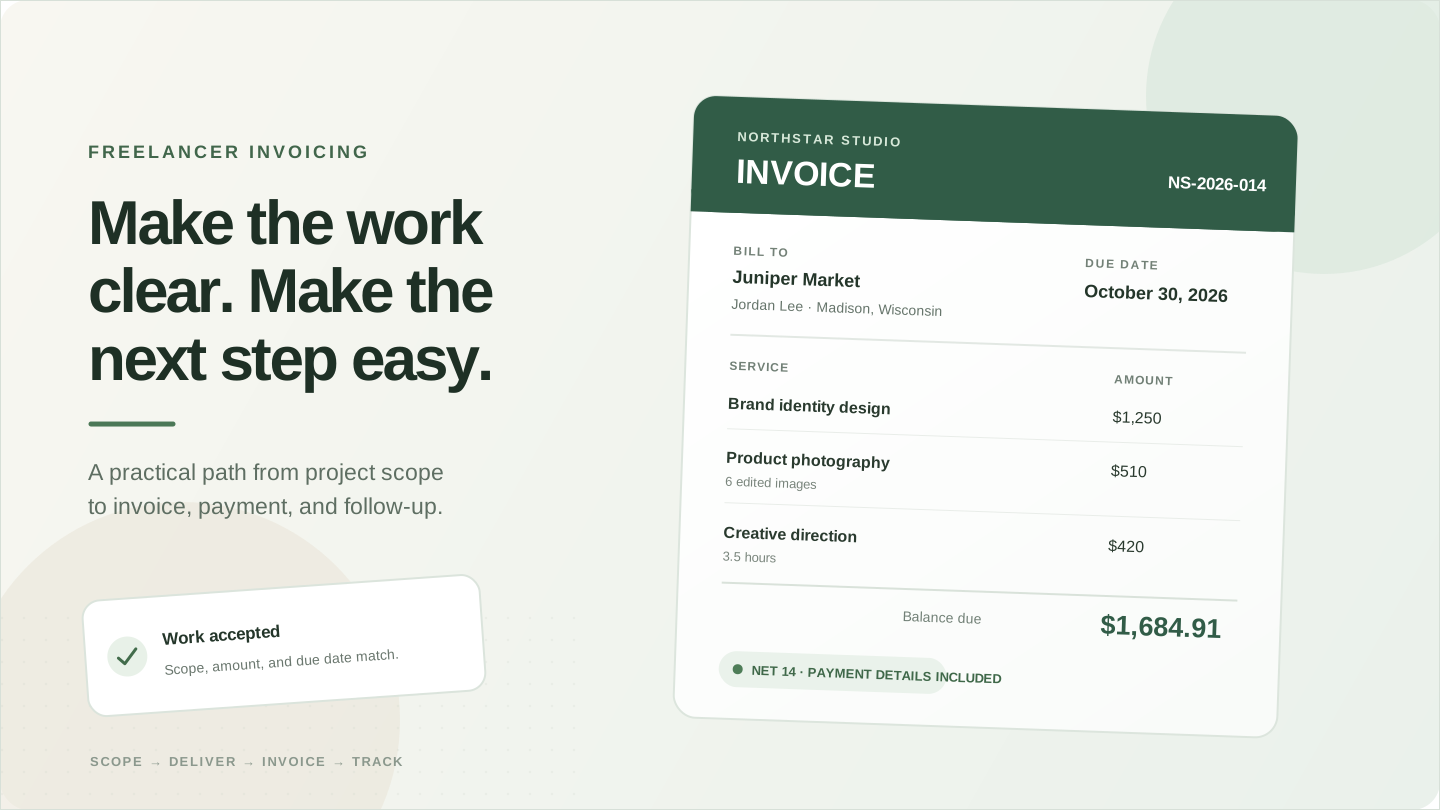
A good freelance invoice makes the work easy to recognize, the amount easy to check, and the next payment step easy to follow. The simplest routine is to agree on scope and timing first, keep a record of what you delivered, then send a numbered invoice with itemized work, a clear due date, and payment instructions.
This guide walks through that routine with a fictional design project, a complete invoice example, and a copyable email. If you already know the work and amount, you can create a free invoice in ZuffSuite and download PDF, Word, or Excel without an account.
A simple freelance invoicing workflow
Treat invoicing as part of the project: agree on billing before work, record what you deliver, and tie each invoice to a delivery or billing date.
Before work begins
- Confirm deliverables, rates, and who approves the work.
- Agree on deposits, milestones, due dates, and payment methods.
Both sides know when an invoice is coming.
When a billing trigger arrives
- Check the delivered work against the agreement.
- Prepare a numbered invoice and verify its details.
The client can match the bill to the project.
After sending
- Save the exact copy you sent and note the due date.
- Record payment and follow up if it is still outstanding.
Your income record stays current.
Agree on the billing trigger before you start
A project can be billed in several ways. For a small, short assignment, you may invoice after delivery. A longer project may use a deposit and milestone invoices. Ongoing work might be billed at the start or end of each month. None of those schedules is right for every client; use the arrangement both sides accepted.
Name what each payment covers and when it is due. For a deposit, say whether it is an advance against the project total or a separate booking payment. For milestone billing, use the same milestone label as the proposal.
- Fixed-price project: invoice at the agreed delivery point or split the price across named milestones.
- Hourly work: record the billing period, hours, rate, and a recognizable description of the work.
- Retainer or recurring work: state the service period and send the invoice on the agreed schedule.
- Expenses or materials: list reimbursable items separately when the agreement allows them.
What to put on a freelance invoice
Build the invoice so a client can answer three questions quickly: who sent it, what the amount covers, and how and when to pay. A logo can help with recognition, but clear information matters more than decorative design.
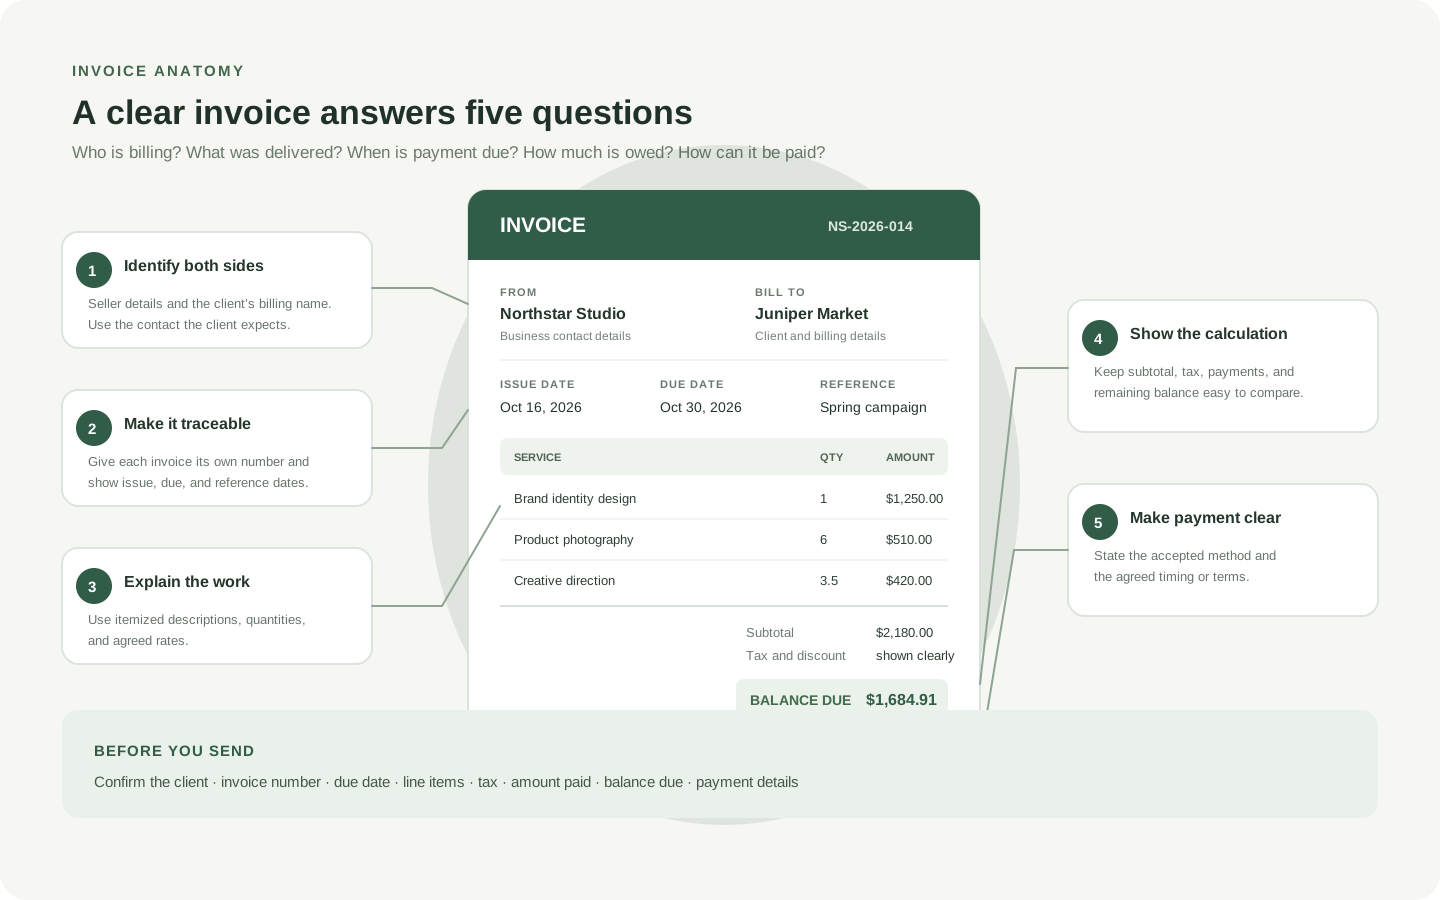
- Your business details: use the name and contact method the client recognizes. Add an address or tax identifier when your agreement or local rules call for it.
- Client details: address the invoice to the correct individual or company and use the billing contact or purchase-order reference they requested.
- Invoice number and dates: use a unique, consistent number; show the issue date and an exact due date.
- Itemized work: describe each deliverable, service period, hour total, or milestone in terms the client can match to the agreement.
- Amounts: show quantity, rate, subtotal, any agreed discount or fee, applicable tax, amount paid, and remaining balance.
- Payment details: state the accepted method and any reference the client should include. Keep sensitive banking details limited to the payment instructions you intend to share.
- Notes or terms: include a short thank-you, project reference, or agreed payment term when it helps the client process the bill.
Write line items a client can check
Use a description the client can match to the agreement. Split distinct work when it makes the charge easier to review; do not add unapproved fees.
| Vague line | Clearer line | When it helps |
|---|---|---|
| Design work | Homepage design — approved project milestone | Fixed-price deliverable |
| Consulting | Strategy workshop — 2 hours at the agreed hourly rate | Hourly session |
| Photos | Product photography — 6 edited images | Defined quantity of deliverables |
Design work
- Clearer line
- Homepage design — approved project milestone
- When it helps
- Fixed-price deliverable
Consulting
- Clearer line
- Strategy workshop — 2 hours at the agreed hourly rate
- When it helps
- Hourly session
Photos
- Clearer line
- Product photography — 6 edited images
- When it helps
- Defined quantity of deliverables
Keep the description factual and aligned with the approved scope. An invoice is a payment request and record, not the place to introduce a new fee or surprise the client with work they did not authorize.
Create the invoice in ZuffSuite
The ZuffSuite invoice generator runs in the browser. Its live preview updates as you edit, and the page states that invoice details stay in your browser unless you choose to download them. You can use the editor without an account or watermark, then download PDF, Word, or Excel, print, or save a blank PDF template.
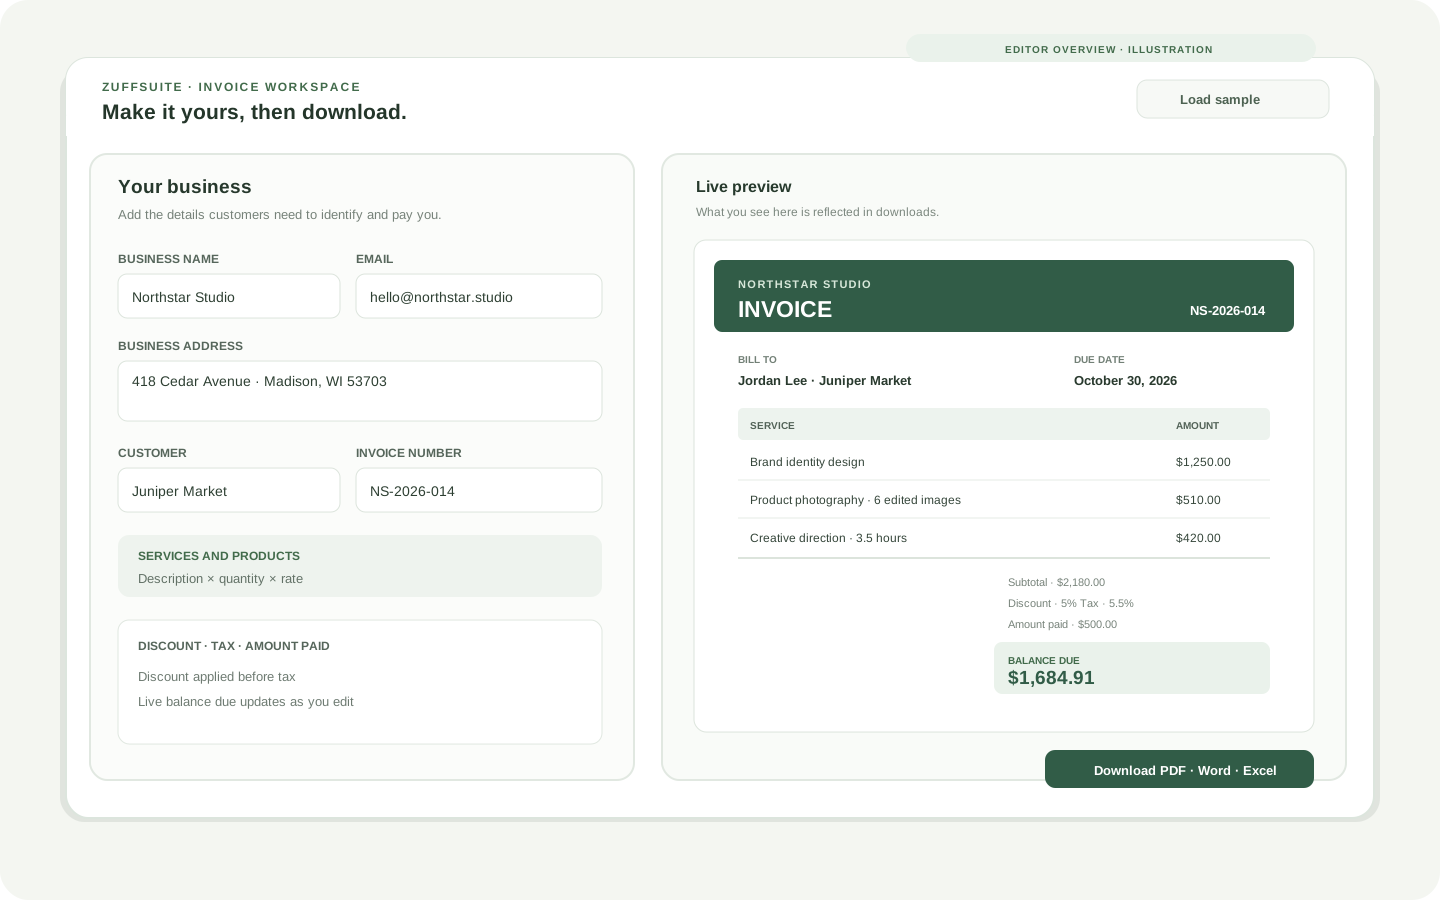
- Open the Free Invoice Template & Generator. Select Load sample if you want to see a completed example before entering your own information.
- Fill in Your business and Customer. Use the names and contact details the client expects to see on the invoice.
- In Invoice details, confirm the invoice number, currency, issue date, due date, and payment terms. Make sure the due date matches the terms you agreed on.
- Under Services and products, add a description, quantity, and rate for each line. Use Add line item for additional work.
- Check Discount, tax, and payments. The editor applies a discount first, calculates tax on the discounted subtotal, adds any extra fee after tax, then subtracts Amount paid to show the balance.
- Turn on optional reference, payment instructions, or notes if needed. Choose Classic, Modern, Minimal, or Professional and review the live preview.
- Download PDF for a finished document, Word (.docx) or Excel (.xlsx) for an editable copy, or print. Keep a copy of the exact version you send.
Replace every example name, date, amount, and payment detail before downloading. Drafts save locally in your browser; clearing browser storage removes them.
A worked freelance invoice example
The example below uses fictional businesses and a fictional design engagement. It shows three types of work, a discount, tax, and a deposit already paid. The dates match the stated Net 14 term, and the arithmetic follows the generator’s displayed calculation order.
Fictional sample · freelance design and photography
Invoice NS-2026-014
- From
- Northstar Studio · 418 Cedar Avenue, Madison, WI 53703
- Bill to
- Jordan Lee · Juniper Market · Madison, WI
- Issued
- October 16, 2026
- Due
- October 30, 2026 · Net 14
- Reference
- Spring campaign
Services
- Brand identity design — 1 × $1,250.00 = $1,250.00
- Product photography, 6 edited images — 6 × $85.00 = $510.00
- Creative direction — 3.5 hours × $120.00 = $420.00
Calculation
- Subtotal: $2,180.00
- Discount: 5% = −$109.00
- Taxable subtotal: $2,071.00
- Tax: 5.5% = $113.91
- Invoice total: $2,184.91
- Deposit already paid: $500.00
- Balance due: $1,684.91
Payment instructions
- ACH transfer to Northstar Studio. Include invoice NS-2026-014 with the payment.
- Thank you for trusting us with your launch.
Check the math: $2,180 − $109 = $2,071 before tax; 5.5% tax rounds to $113.91, making the total $2,184.91. After the $500 deposit, $1,684.91 remains due. The tax rate is illustrative—use the treatment that applies to your transaction.
Enter the $500 deposit once in Amount paid. Do not also subtract it from a line item; that would count it twice.
Set payment terms and follow up professionally
Terms such as “due on receipt,” Net 7, Net 14, and Net 30 describe the expected payment timing. Net 14 generally means payment is due within 14 days of the invoice date, but clients may have a separate accounts-payable process. Agree on the term before work begins and write a specific calendar due date on the invoice so there is less room for confusion.
A deposit or milestone schedule can help divide a larger project into clear payment points. State what each payment covers and how it relates to the total agreed fee. Late fees or interest can be subject to contract and local rules; do not add them unless they were agreed and you have checked the requirements that apply to you.
When the due date passes, first check that the invoice went to the right person and that the client has everything needed to process it. A brief, neutral reminder is usually more useful than an accusation. Include the invoice number, amount, original due date, and a fresh copy of the invoice; ask whether they need any additional information.
Copyable email for sending an invoice
Keep the email short. Name the work period or milestone, identify the attached invoice, state the due date, and make it easy for the client to ask a question. Use a subject line that includes the invoice number and project.
Freelance invoice email template
Subject: Invoice NS-2026-014 — Spring campaign

Hi Jordan,

Attached is invoice NS-2026-014 for the spring campaign design and photography work. The balance due is $1,684.91, payable by October 30, 2026, under our Net 14 terms.

The invoice includes the ACH instructions and the $500 deposit already received. Please let me know if your billing team needs a purchase order or any other details.

Thanks,
[Your name]
[Business name]
[Email or phone]
Avoid common freelance invoice mistakes
- No unique number: choose a sequence and use each number once.
- Wrong billing contact: confirm the recipient, legal business name, and purchase-order process before sending.
- Unclear scope: name the deliverable, time period, quantity, or milestone instead of using a generic label.
- Dates do not match: compare the due date with the payment term and agreement.
- Deposit counted twice: show the full invoice total, then record the amount already paid once.
- Unexplained tax or fee: verify the amount and make the calculation visible; check local rules where needed.
- No saved copy: store the exact invoice sent and record when it was sent and paid.
Before sending, check the client, invoice number, issue and due dates, descriptions, quantities, rates, calculations, payment instructions, and attached file. If you have made a correction, replace the prior version clearly so the client knows which invoice to use.
Choose a file format and track the payment
| Format | Best for | Trade-off |
|---|---|---|
| Sending the final invoice to a client; layout stays consistent. | Less convenient to edit after export. | |
| Word (.docx) | Editing wording or reusing a document manually. | You need to review layout changes after editing. |
| Excel (.xlsx) | Updating spreadsheet cells or reviewing formulas. | A spreadsheet is a working file; check its print layout before sharing. |
| Blank PDF template | Starting from a reusable blank form. | It is not the same as a completed invoice with your current details. |
- Best for
- Sending the final invoice to a client; layout stays consistent.
- Trade-off
- Less convenient to edit after export.
Word (.docx)
- Best for
- Editing wording or reusing a document manually.
- Trade-off
- You need to review layout changes after editing.
Excel (.xlsx)
- Best for
- Updating spreadsheet cells or reviewing formulas.
- Trade-off
- A spreadsheet is a working file; check its print layout before sharing.
Blank PDF template
- Best for
- Starting from a reusable blank form.
- Trade-off
- It is not the same as a completed invoice with your current details.
Record the invoice number, client, issue and due dates, amount, status, and payment date. Keep the invoice and payment evidence together. The IRS lists invoices and receipts as supporting business documents; its rules are U.S.-specific. See its recordkeeping guidance or your local tax authority's guidance.
ZuffSuite also has a free business expense spreadsheet guide and an accounts receivable tracker for keeping outgoing costs and unpaid invoices visible. Keep your own records even if you use a template; a generator creates the invoice file but does not replace bookkeeping or tax advice.
Freelance invoice FAQs
When should I invoice a freelance client?
Invoice at the trigger you agreed on: delivery, a milestone, a deposit, or a recurring billing date. State that trigger in your agreement so timing is predictable.
What should a freelance invoice include?
Include both parties’ details, a unique number, issue and due dates, itemized work, quantities and rates, subtotal, applicable tax or fees, amount paid, balance due, payment instructions, and relevant terms. Requirements vary by location and transaction.
Can I invoice a client without an LLC?
Business structures and registration rules differ by location and activity. Some people invoice using their legal name, but that does not determine whether they have other registration, licensing, or tax obligations. Check your local authority or a qualified professional.
Is a PDF invoice acceptable?
PDF is a common format for a finished invoice because its layout stays consistent. Confirm any client portal, purchase-order, or file requirements before sending.
What does Net 14 mean on an invoice?
Net 14 generally means payment is expected within 14 days of the invoice date. Add the actual due date and make sure the term matches what the client agreed to.
How do I follow up on an unpaid invoice?
Send a polite note with the invoice number, balance, due date, and a copy. Ask if the client needs anything to process it, then record the follow-up.
Can I make an invoice for free without signing up?
Yes. ZuffSuite’s invoice generator can be used without creating an account or adding a payment method. It offers PDF, Word, Excel, print, and blank PDF options, and adds no watermark.
Send your next invoice with confidence
Make invoicing routine: agree on billing before work, describe deliverables clearly, check dates and totals, then save the sent copy and track payment. A simple system you maintain is more useful than one you abandon.
Keep exploring
More guides for your work
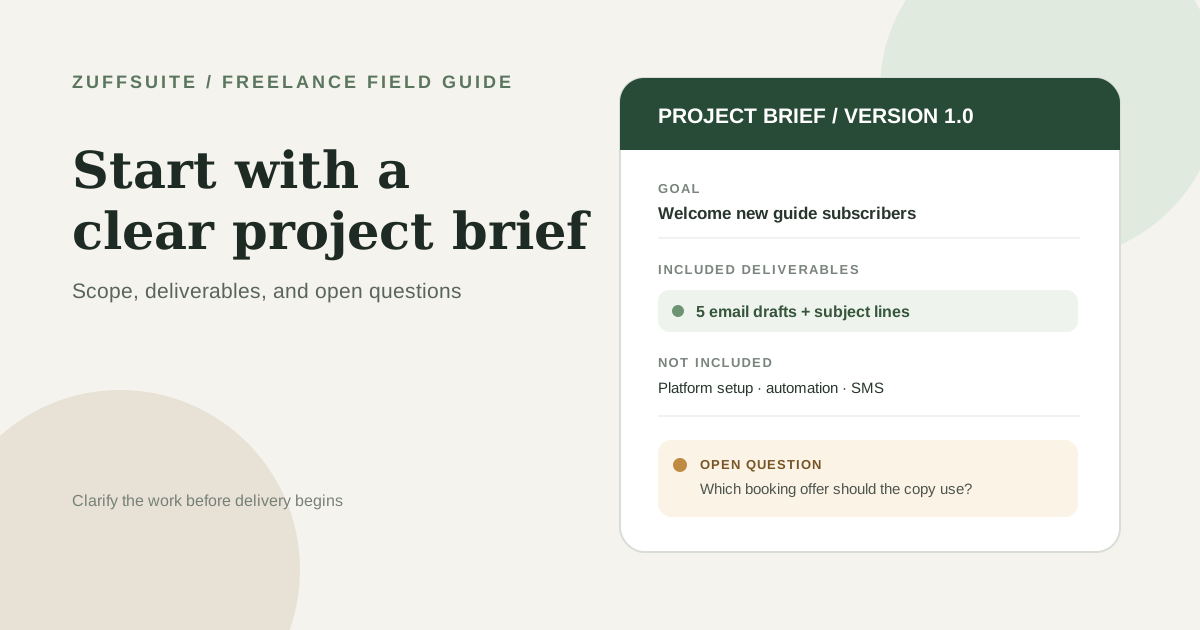
Freelance template Oct 7, 2026
Freelance Project Brief Template: Scope, Deliverables, and Open Questions
Copy a practical one-page freelance project brief, see it filled in, and learn how to clarify scope, client inputs, approvals, and open questions before you begin.
Read the guide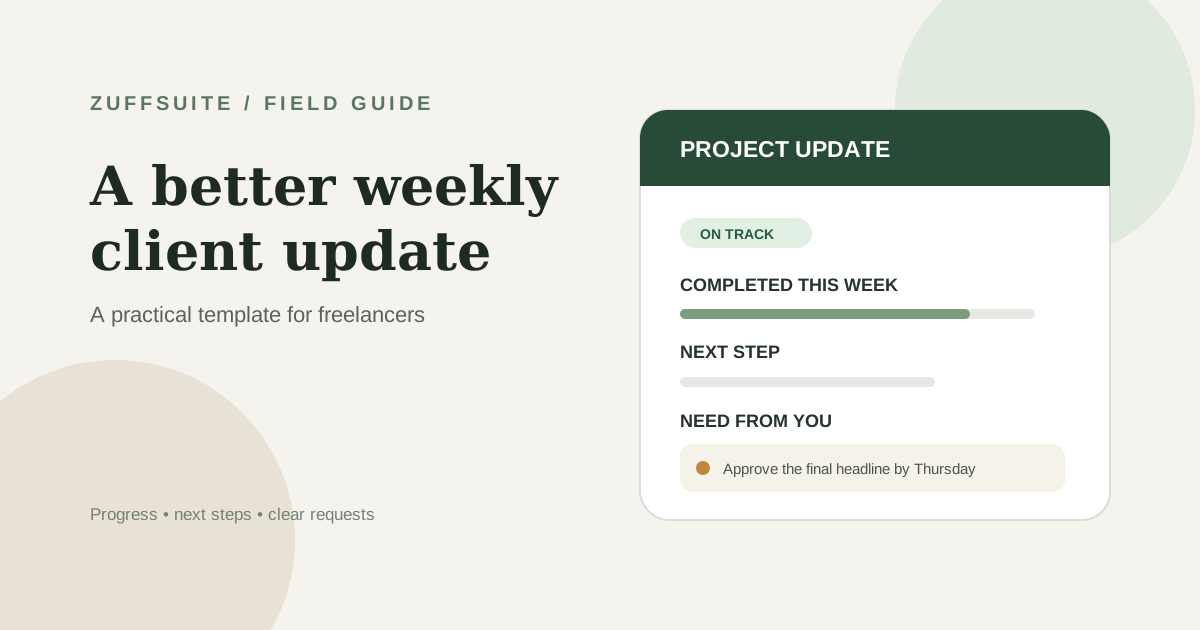
Freelance guide Oct 7, 2026
Weekly Client Update Template for Freelancers
A practical weekly client update template, five messages for real project situations, and a simple routine for sending clear client updates without rewriting the same email every Friday.
Read the guide
Practical guide Oct 3, 2026
Free Business Expense Spreadsheet: What to Track and How to Set One Up When You Work Solo
If you work for yourself, your expenses are probably spread across card statements, email receipts, a few paper slips and a handful of subscriptions you half remember signing up for. Nothing is wrong yet.
Read the guideA workspace for what comes next
Give your next project one clear home.
Keep notes, documents, tasks, and presentation work together in a personal workspace. Share something when you choose.